
Week 7 Lab: Local Observable Frameworks, D3 Interactions
Published:
[Framework](https://observablehq.com/framework/)|[Local Observable Frameworks](https://observablehq.com/@rk2546/guide-local_observable_setup)
[Week 7 Lab Notebook](https://observablehq.com/@rk2546/2025-infovis-cse_week-7-lab)| ### Today's Lab Activities Today we will be a exploring the following topics: 1. How to set up a local instance of Observable via _Framework_ 2. Main Lab Activities: 1. Examples: Observable & Interactions 2. Concept: Persistent Variables in JavaScript 3. Review: Observable Inputs Library 4. Application #1: Changing Visible Data 5. Application #2: Mouse Tooltips ## Reminders & Checks - [Project Group Check-in](https://forms.gle/jiDgZfiez8BJRc8T7) - Due by **TONIGHT** @ 11:59pm - [Lab Feedback Form](https://forms.gle/ddJ4tXX2bBbooARJ6) - Due Anytime (optional) ## Running Observable Locally: "Framework" In prep for your group projects, it would be ideal to work on your own local instances of Observable...ness. The same group behind Observable also has released [Framework](https://observablehq.com/framework/), a JavaScript ecosystem for generating dashboards and web apps with Observable functionality. :::{.columns} ::::{.column width="50%"} We will focus a bit on making sure you are ready with a _Framework_ project that you can upload to Github. Make sure to open the first notebook, [Local Observable Frameworks](https://observablehq.com/@rk2546/guide-local_observable_setup), and follow the instructions.
**[Note]**: _Framework_ is one of **many** options you can use for your project. We're introducing it because it's the closest to the Observable notebooks we've generated thus far. :::: ::::{.column width="50%"} 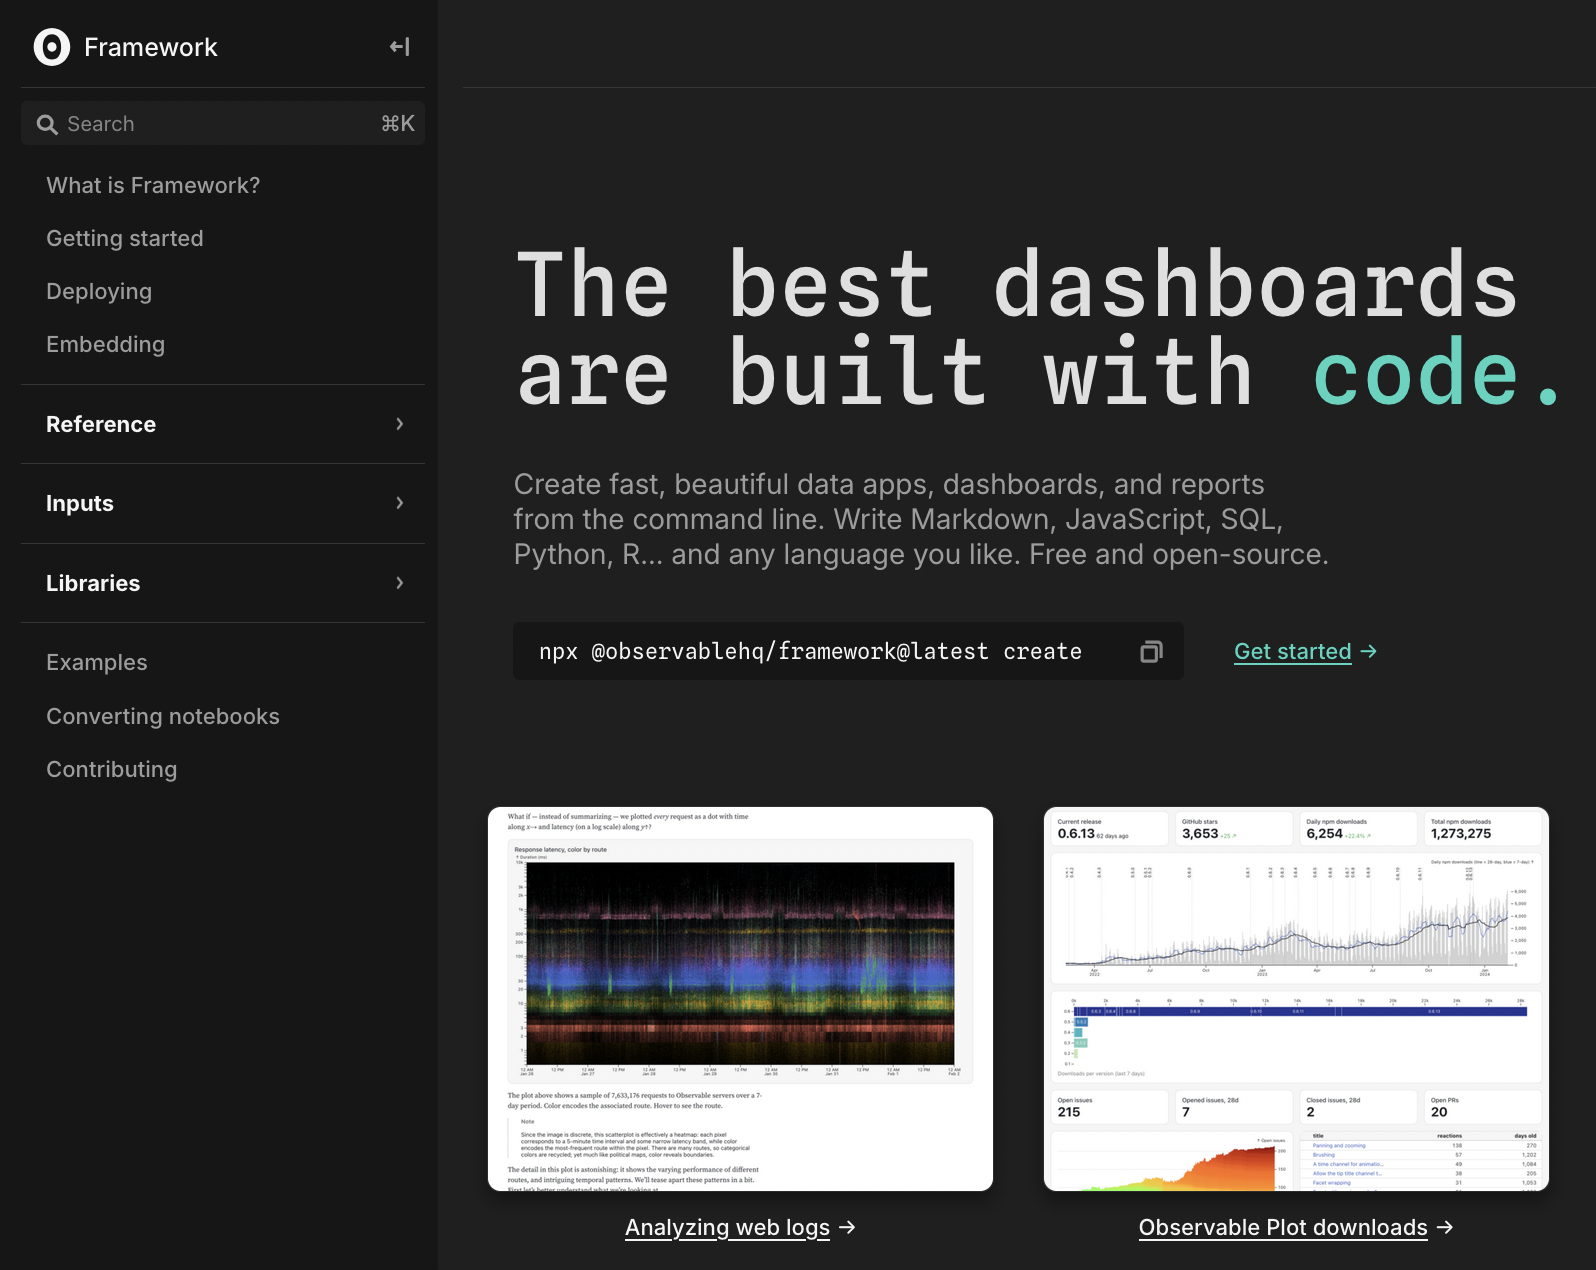{width="100%"} :::: ::: ## Framework Prerequisites


Our guide assumes that you have a Github account.
If you do not, please make an account.
### Running a Development Server Once you've installed your dependencies, we are ready to run a local server that we can use for development. Run the following command inside your project folder: ````sh pnpm dev ```` Your _Framework_ webpage should then be loaded into a `localhost` server that you can view via the browser. The _Framework_ architecture tracks any changes to any files and updates in real-time every time you **save changes in a file**. ## Version Control via Github After these steps, you should be able to push changes to your Github repository and pull them when needed. 1. Online, create an empty Github repository and feel free to name it anything you want (though generally you should try to match project names when possible). 2. Locally (via command line or via Github tool), add and commit all files in your project window. 3. Set the branch to "main", add a new remote origin, and push your changes. The 3 commands to do so are provided below, as an example: ````sh git branch -M main git remote add origin git@github.com:
**[Note]**: Whenever you clone your repo to another folder or device, you **must** install dependencies again. ## Framework Setup: Command Line Summary ````sh # Step 1: Install pnpm, for MacOS or Windows curl -fsSL https://get.pnpm.io/install.sh | sh - Invoke-WebRequest https://get.pnpm.io/install.ps1 -UseBasicParsing | Invoke-Expression # Step 2: Install _Node.js_ pnpm env use --global lts # Step 3: Create a _Framework_ Project pnpm dlx @observablehq/framework@latest create # Step 4: Install Dependencies, run a dev server pnpm i pnpm dev # Step 5: Connecting an Empty Github Repo git add -A git commit -m "first commit" git branch -M main git remote add origin git@github.com:
````js { replay; // .... const circle = svg.append("circle") .attr("r", 10) .attr("cx", 25) .attr("cy", 25) .attr("fill", "steelblue") .call(reveal); // Event Handling return svg.node(); } ```` :::: ::::{.column width="40%"} ```js // Daisy-change of events to this circle reveal = circle => { circle .interrupt() // 1. Stop previous animation .attr("cx", 25) // 2. Place at origin (25,25) .attr("cy", 25) .transition() // 3. Start a transition .duration(1500) // 4. Run for 1.5sec .attr("cx", 175) // 5. Set new pos (175,175) .attr("cy", 175); } ```` :::: ::: ## General Structure for Interactables 1. A way to manipulate the data (e.g. a button, a mouse event). 2. Functions to handle changes (e.g. an _event handler_ function). 3. A connection between (1) and (2). :::{.columns} ::::{.column width="15%"} 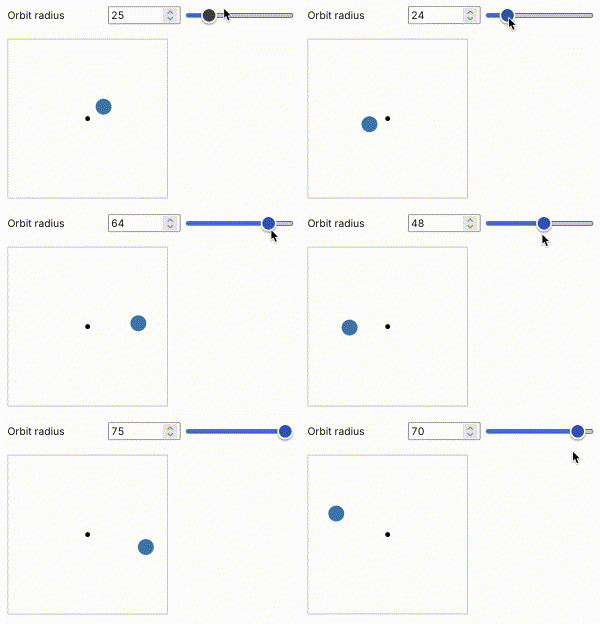{width="100%"} :::: ::::{.column width="75%"} ````js // Manipulation viewof radius = Inputs.range([15, 75], {label: "Orbit radius", value: 25, step: 1}) ```` ````js // Create two PERSISTENT variables that will be used across multiple functions within this code block. let angle = 0; // Relative to +x const speed = 0.02; // degrees per frame // Event Handler that runs every frame. Animates the cirlce function animate() { // Update angle since it's a new frame angle += speed; // We grab the value set by our slider variable at this current frame const r = viewof radius.value; // Modify the x and y positions of our orbiting circle, mathematically const x = pivot.x + r * Math.cos(angle); const y = pivot.y + r * Math.sin(angle); orbit.attr("cx", x).attr("cy", y); // This is a special DOM function that calls `animate()` again when the next frame // of the window is updated. So `animate()` will run at every frame. requestAnimationFrame(animate); } // Call `animate()` to get things rolling when this code block runs animate(); ```` :::: ::: ## General Structure for Interactables 1. A way to manipulate the data (e.g. a button, a mouse event). 2. Functions to handle changes (e.g. an _event handler_ function). 3. A connection between (1) and (2). :::{.columns} ::::{.column width="15%"} 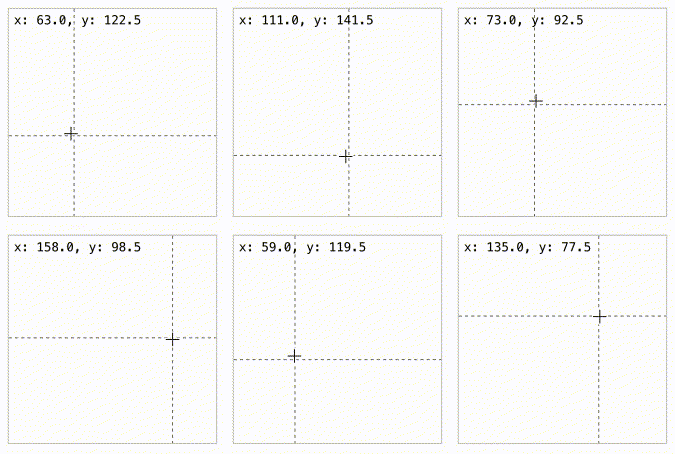{width="100%"} :::: ::::{.column width="75%"} ````js // Mouse event handlers const onmousemove = (event) => { const [x, y] = d3.pointer(event); // Grab the mouse position vLine // Modify the position of our vertical line .attr("x1", x) .attr("x2", x) .style("visibility", "visible"); // And make it visbile hLine // Same with the horiontal line. .attr("y1", y) .attr("y2", y) .style("visibility", "visible"); text.text(`x: ${x.toFixed(1)}, y: ${y.toFixed(1)}`); // We modify the coordinates text. }; const onmouseleave = (event) => { vLine.style("visibility", "hidden"); // Make the vertical and horizontal lines invisible hLine.style("visibility", "hidden"); text.text(""); // We make the text empty. }; // Connect events to handlers. svg.on("mousemove", onmousemove); svg.on("mouseleave", onmouseleave); ```` :::: ::: ## Persistence in JavaScript **Persistent variables** are those that are maintained and are referenced across multiple components, functions, etc. In JavaScript, variables remain persistent **within the context they are defined**.
#### Example #2: ````js let angle = 0; // Relative to +x const speed = 0.02; // degrees per frame ````
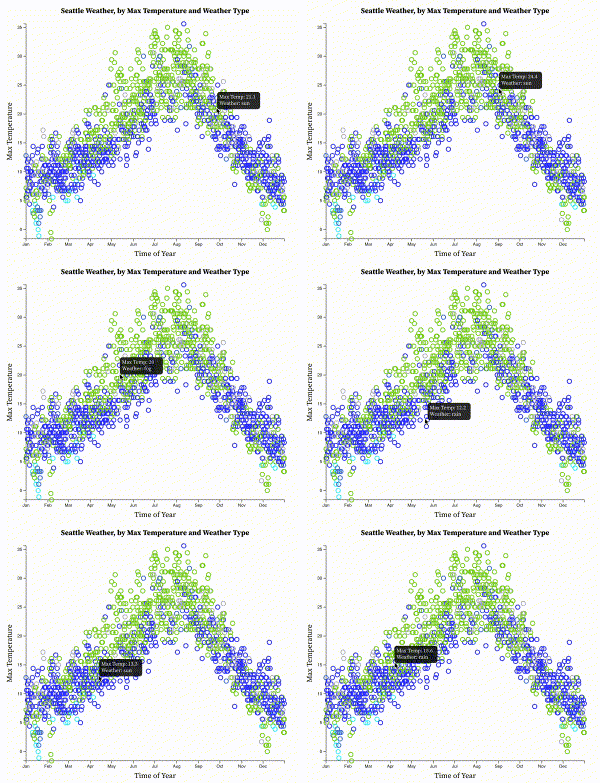
#### Example #3: ````js // We must generate our crosshair lines pre-emptively as elements of our svg. // We create the vertical line, with some styling const vLine = svg.append("line") // ... // We create a horizontal line, with some styling const hLine = svg.append("line") // ... // Similar to the crosshair lines, we also pre-generate a text display showing the mouse coordinates. const text = svg.append("text") // ... ```` ## Review: Basic Input Types - [Button](https://observablehq.com/@observablehq/input-button) - do something when a button is clicked - [Toggle](https://observablehq.com/@observablehq/input-toggle) - toggle between two values (on or off) - [Checkbox](https://observablehq.com/@observablehq/input-checkbox) - choose any from a set - [Radio](https://observablehq.com/@observablehq/input-radio) - choose one from a set - [Range](https://observablehq.com/@observablehq/input-range) or [Number](https://observablehq.com/@observablehq/input-range) - choose a number in a range (slider) - [Select](https://observablehq.com/@observablehq/input-select) - choose one or any from a set (drop-down menu) - [Text](https://observablehq.com/@observablehq/input-text) - enter freeform single-line text - [Textarea](https://observablehq.com/@observablehq/input-textarea) - enter freeform multi-line text - [Date](https://observablehq.com/@observablehq/input-date) or [Datetime](https://observablehq.com/@observablehq/input-date) - choose a date - [Color](https://observablehq.com/@observablehq/input-color) - choose a color - [File](https://observablehq.com/@observablehq/input-file) - choose a local file ## Try For Yourselves Our lab notebook has two application examples as exercises. Try them for yourselves!
{width="100%"} ## Final Reminders & Checks - [Project Group Check-in](https://forms.gle/jiDgZfiez8BJRc8T7) - Due by **TONIGHT** @ 11:59pm - [Lab Feedback Form](https://forms.gle/ddJ4tXX2bBbooARJ6) - Due Anytime (optional)